
Why Transition Strips Matter
Before diving into types and materials, understand why transition strips are essential—not optional—for quality flooring installations.
Functional Purposes
- Expansion accommodation: Floating floors (LVP, laminate, engineered hardwood) need room to expand and contract with humidity changes. Transitions cover the required expansion gaps while allowing floor movement.
- Height bridging: Different flooring materials have different thicknesses. Transitions create safe, smooth bridges between heights, preventing tripping hazards.
- Edge protection: Exposed flooring edges are vulnerable to chipping, peeling, and moisture intrusion. Transitions protect these edges from damage.
- Directional change: When flooring direction changes or meets an obstruction, transitions provide clean termination points.
Aesthetic Purposes
- Professional appearance: Clean transitions signal quality installation; gaps and exposed edges look unfinished.
- Room definition: Transitions can subtly define spaces in open floor plans without walls.
- Color/material coordination: Matching or contrasting transitions enhance overall design.
When Transitions Are Required
- Between different flooring materials (tile to hardwood, LVP to carpet, etc.)
- At doorway thresholds (even with continuous flooring)
- Where flooring meets vertical surfaces (fireplaces, sliding door tracks)
- At stair edges
- Where flooring direction changes significantly
- At expansion joints in large continuous installations
Types of Transition Strips
Different situations require different transition profiles. Selecting the right type ensures proper function and appearance.
T-Molding
Use when: Connecting two floors of equal or nearly equal height (within 1/8" difference)
T-molding has a cross-section shaped like the letter T. The top creates a smooth bridge while the stem drops into the gap between floors. This is the most common transition for floating floors meeting in doorways.
- Works with expansion gaps of 1/4" to 1/2"
- Typically installs into a metal track screwed to the subfloor
- Available in virtually every flooring material and color
Reducer
Use when: Transitioning between floors of different heights
Reducers have an angled profile that gradually slopes from the higher floor to the lower floor. They're essential when thick flooring meets thinner flooring—like hardwood (3/4") meeting LVP (5mm).
- Available in various height differentials
- Should slope gradually to minimize trip hazard
- Often called "carpet reducers" when transitioning to carpet
End Cap (End Molding)
Use when: Flooring terminates at a vertical surface or drops off
End caps provide a finished edge where flooring meets surfaces it can't run under—fireplaces, sliding door tracks, raised hearths, or floor vents. They round over the exposed flooring edge for protection and appearance.
- Protects vulnerable flooring edges
- Creates clean termination at obstacles
- Essential at sliding glass door tracks
Threshold (Saddle)
Use when: Transitioning at exterior doorways or between very different floor levels
Thresholds are heavy-duty transitions designed for exterior doors and high-traffic areas. They're typically taller and more durable than T-molding, with profiles designed to seal against weather stripping.
- Weather-resistant materials for exterior use
- Often includes weather seal channels
- Available with ADA-compliant slopes
Stair Nose (Stair Nosing)
Use when: Flooring meets stair edges
Stair nosing provides a rounded, overhanging edge at the front of each stair tread. This is both a safety requirement (rounded edges prevent foot injuries) and a structural necessity (protects the leading edge from impact).
- Must meet building code requirements for stair safety
- Available in flush and overlap styles
- Should match flooring for consistent appearance
Square Nose
Use when: Flooring meets a lower surface like a sunken living room or step down
Square nose molding provides a flat, finished edge where flooring meets a vertical drop. Unlike end caps that round over, square nose presents a clean 90-degree termination.
Choosing the Right Material
Transition strip material affects durability, appearance, and price. Match materials to your flooring type and traffic conditions.
Solid Hardwood
Best for: Hardwood flooring installations
- Advantages: Can be stained to match flooring exactly; most authentic appearance; can be refinished
- Disadvantages: Higher cost; susceptible to moisture damage; requires finishing
- Typical cost: $3-8 per linear foot
Many hardwood flooring manufacturers offer matching transitions made from the same wood species and finish as their flooring lines.
Metal (Aluminum, Brass, Stainless Steel)
Best for: Commercial spaces, high-traffic areas, modern aesthetics
- Advantages: Extremely durable; moisture-resistant; modern appearance; low maintenance
- Disadvantages: May not match flooring aesthetically; can feel cold; shows scratches on brushed finishes
- Typical cost: $2-10 per linear foot depending on finish
Metal transitions work well with tile, LVP, and contemporary hardwood installations. Aluminum is most common; brass and stainless steel offer premium options.
Vinyl/PVC
Best for: LVP and laminate installations
- Advantages: Flexible; affordable; moisture-resistant; available in colors matching most LVP
- Disadvantages: Less durable than metal or wood; can look cheap if quality is low
- Typical cost: $1-4 per linear foot
Most LVP manufacturers offer coordinating vinyl transitions designed to match their flooring products perfectly. These are usually the best choice for LVP installations.
Laminate
Best for: Laminate flooring installations
- Advantages: Matches laminate flooring perfectly; affordable; easy installation
- Disadvantages: Not water-resistant; less durable than other options
- Typical cost: $2-5 per linear foot
Like vinyl, laminate manufacturers offer coordinating transitions. Using manufacturer-matched transitions ensures color and pattern consistency.
Rubber
Best for: Commercial applications, gyms, areas requiring slip resistance
- Advantages: Slip-resistant; sound-absorbing; flexible; durable
- Disadvantages: Limited colors; industrial appearance; may not suit residential aesthetics
- Typical cost: $2-6 per linear foot
Sizing and Height Considerations
Proper transition sizing ensures both function and appearance. Measure carefully before purchasing.
Measuring for Transitions
- Measure doorway width: Door openings vary; measure the actual opening, not the door width
- Account for jamb depth: Transition should extend fully under both door jambs
- Calculate height difference: Measure the thickness of both flooring materials to determine height differential
- Check expansion gap width: Ensure transition profile accommodates your expansion gap
Standard Transition Widths
- 1.5" (38mm): Narrow transitions for tight spaces; may look undersized in wide doorways
- 2" (50mm): Standard residential width; suitable for most doorways
- 2.5-3" (63-76mm): Wide transitions for larger openings; more visible design element
- 4"+ (100mm+): Commercial applications and very wide thresholds
Height Differentials
Different profiles accommodate different height differences:
- 0-1/8" difference: T-molding works fine
- 1/8"-1/4" difference: Use a reducer or angled T-molding
- 1/4"-1/2" difference: Standard reducer required
- 1/2"+ difference: Multi-level reducer or custom solution needed
ADA Accessibility Requirements
For commercial projects and accessible residential design, ADA standards affect transition choices:
- Maximum height change: 1/4" vertical (without transition) or 1/2" with beveled edge
- Bevel slope: Maximum 1:2 ratio (1" rise per 2" run)
- No abrupt changes: Height changes over 1/2" require ramp transitions
Even in residential settings, following ADA guidelines improves safety and accommodates future accessibility needs.
Installation Methods and Tips
Proper installation ensures transitions function correctly and stay secure over time.
Track-Mount Installation
Most T-moldings and many reducers use a two-piece track system:
- Install the track: Screw metal track to subfloor, centered over the expansion gap
- Cut transition to length: Measure and cut carefully; use miter cuts for angled joints
- Snap in the molding: Press transition firmly into track until it clicks secure
Advantages: Easy removal for floor repairs; allows floor movement; secure hold
Adhesive Installation
Some transitions install with construction adhesive:
- Dry fit first: Test fit transition before applying adhesive
- Apply adhesive: Use construction adhesive appropriate for your materials
- Position and weight: Set transition in place and weight down until adhesive cures
Best for: End caps, some thresholds, situations where track won't work
Caution: Don't adhesive directly to floating floors—attach to subfloor only
Screw-Down Installation
Thresholds and some commercial transitions screw directly to subfloor:
- Pre-drill holes: Prevents splitting in wood transitions
- Use appropriate screws: Flathead screws that sit flush with surface
- Don't overtighten: Can warp transition or strip holes
Installation Best Practices
- Measure twice, cut once: Transitions are visible—sloppy cuts show
- Undercut door jambs: Slide transitions under jambs for clean appearance
- Maintain expansion gaps: Don't push flooring tight against transition track
- Use miter cuts at angles: Where transitions meet at corners or angles
- Match direction: Wood grain or pattern direction should flow logically
- Stagger joints: In long runs, stagger transition joints away from flooring joints
Common Transition Scenarios
Here's what to use in typical transition situations:
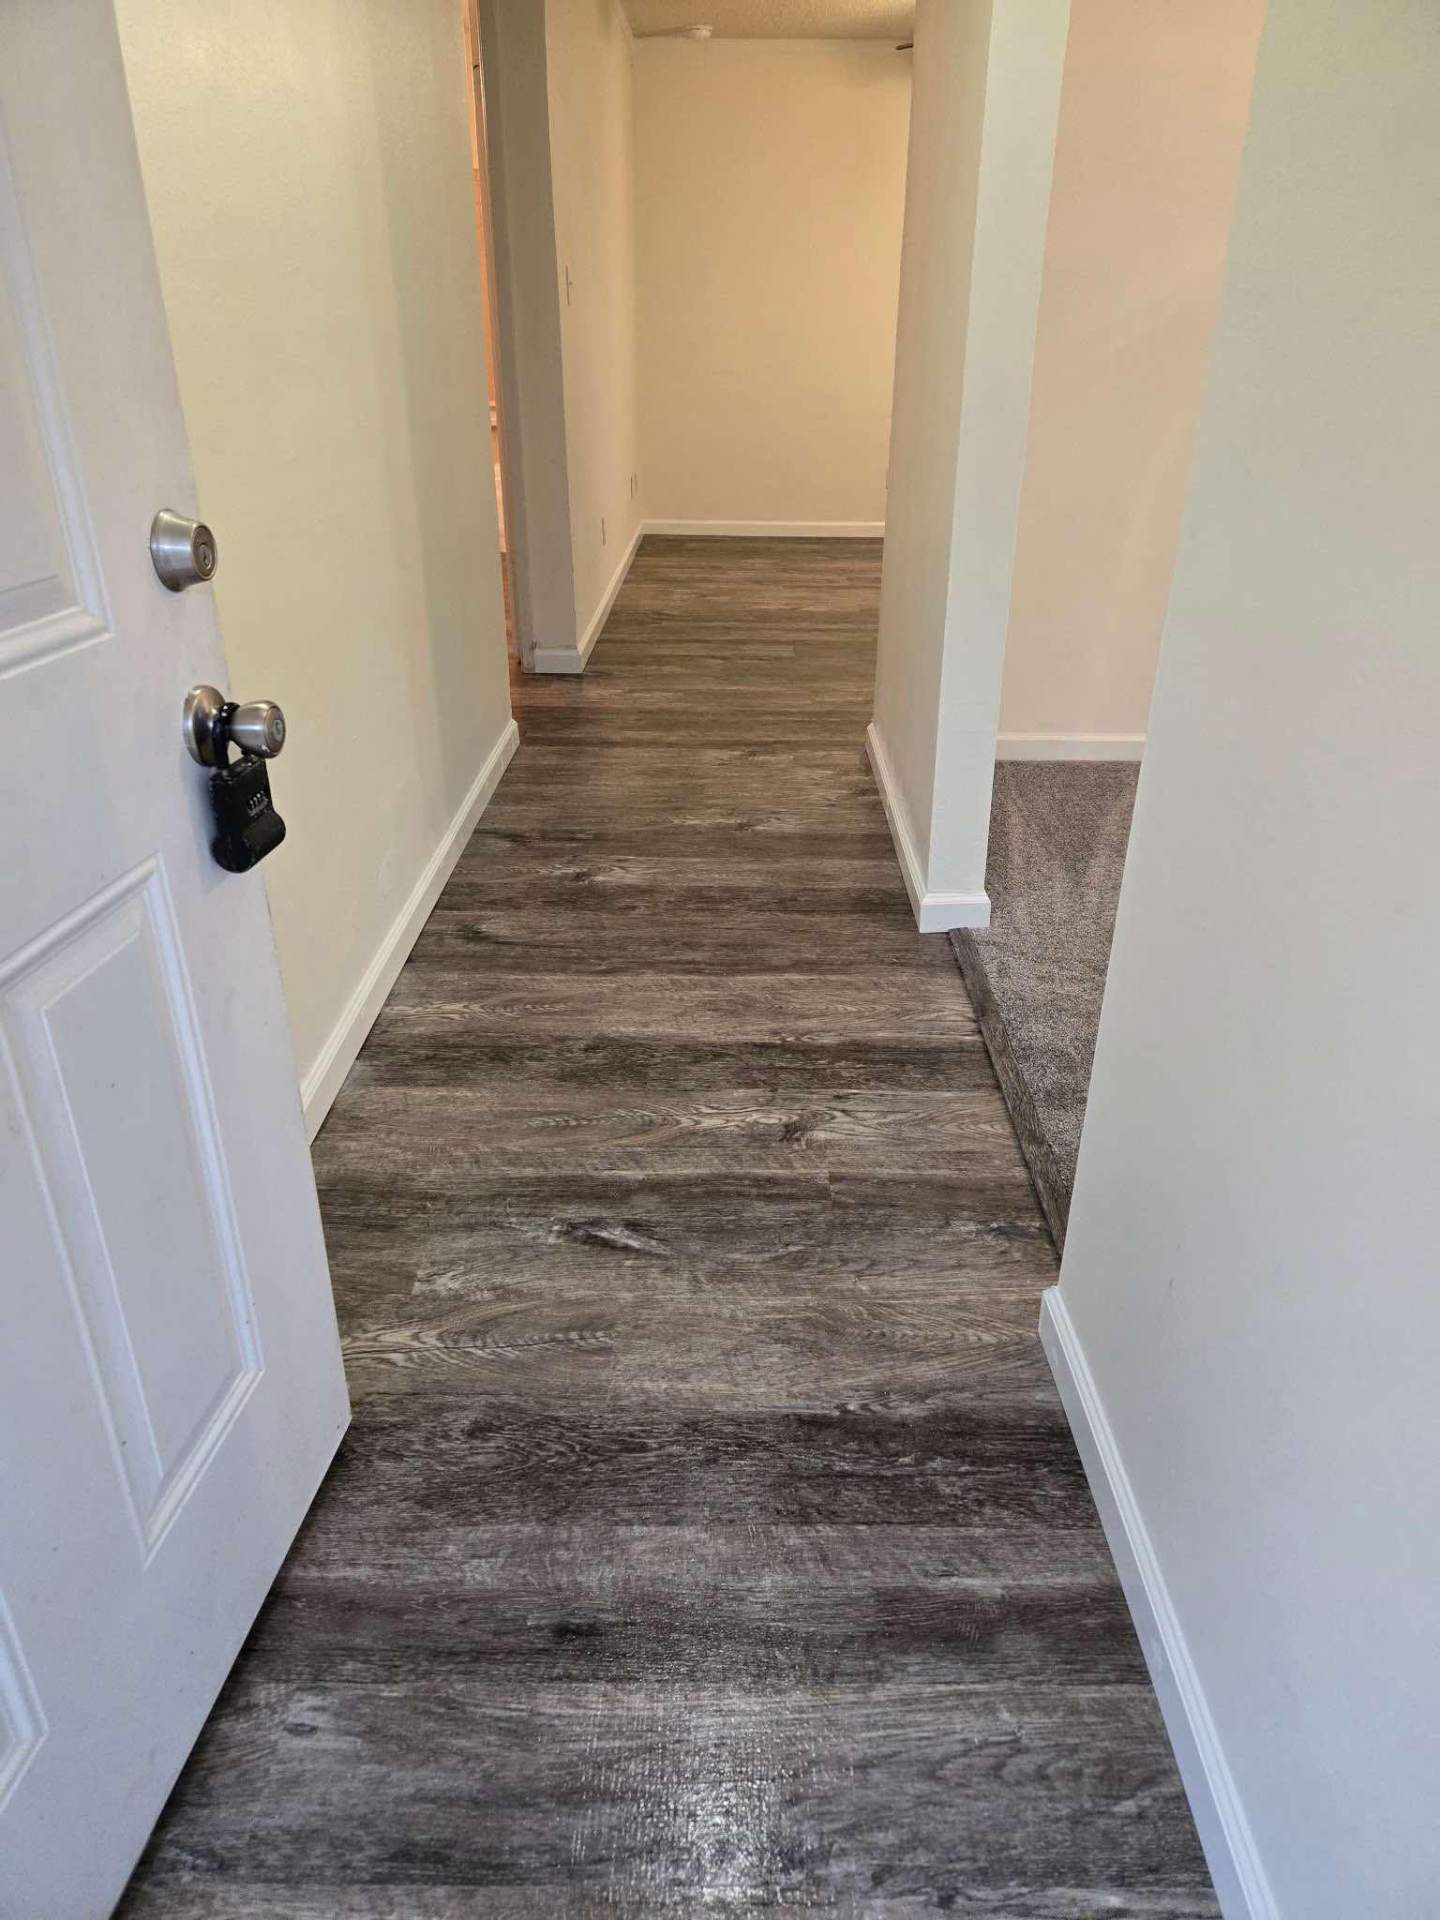
LVP to Carpet
Use: Carpet reducer or carpet transition strip
The reducer slopes from the LVP height down to carpet level, with an edge that tucks under the carpet. Install the transition before the carpet installer arrives so they can tuck carpet under the edge.
Hardwood to Tile
Use: T-molding (if heights similar) or reducer (if heights differ)
Consider metal transitions for a clean, modern look, or wood/coordinating material for traditional appearance. The joint between different materials is a natural place for visual separation.
LVP to LVP (Between Rooms)
Use: T-molding in doorways; may be able to run continuous in open areas
For large continuous installations, transitions at doorways allow independent floor movement and provide natural break points if repairs are ever needed.
Any Floor to Sliding Door Track
Use: End cap or track-specific transition
Sliding door tracks typically sit above floor level. End caps provide clean termination. Some door systems have integrated transition solutions.
Flooring at Stairs
Use: Stair nosing at each tread edge
Building codes require rounded nosing on stairs for safety. Match stair nosing to your flooring material. Flush stair nose integrates with flooring level; overlap stair nose sits on top of flooring.
Flooring at Fireplace Hearth
Use: End cap or reducer (depending on height difference)
Hearths often sit higher than surrounding floors. Choose a transition that bridges the height safely while maintaining required expansion gap from the flooring.